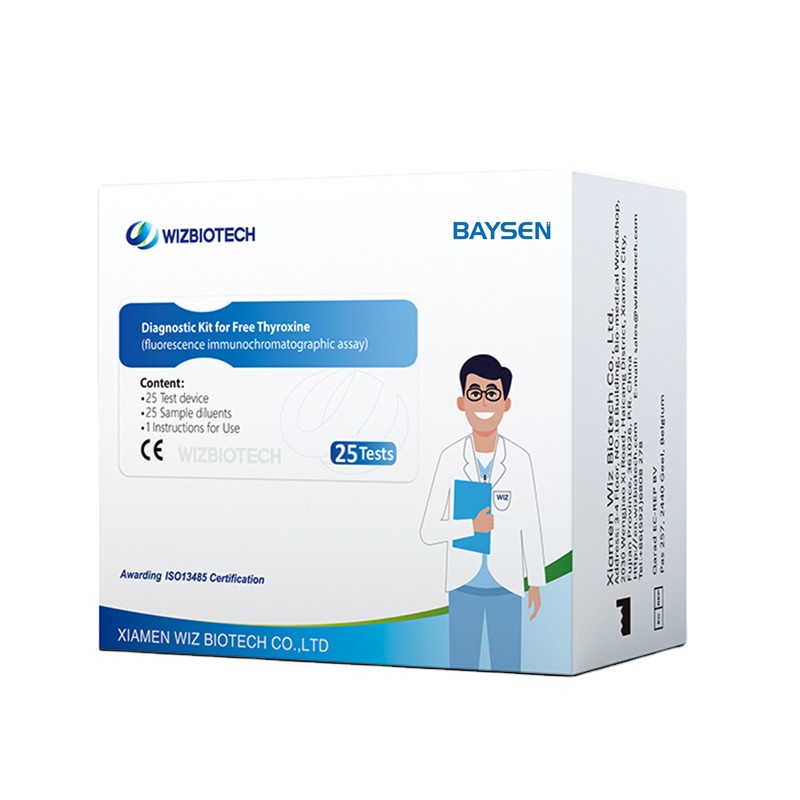
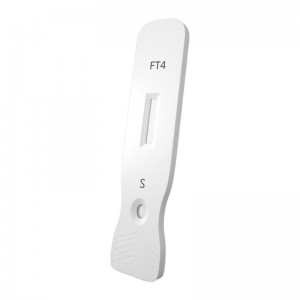
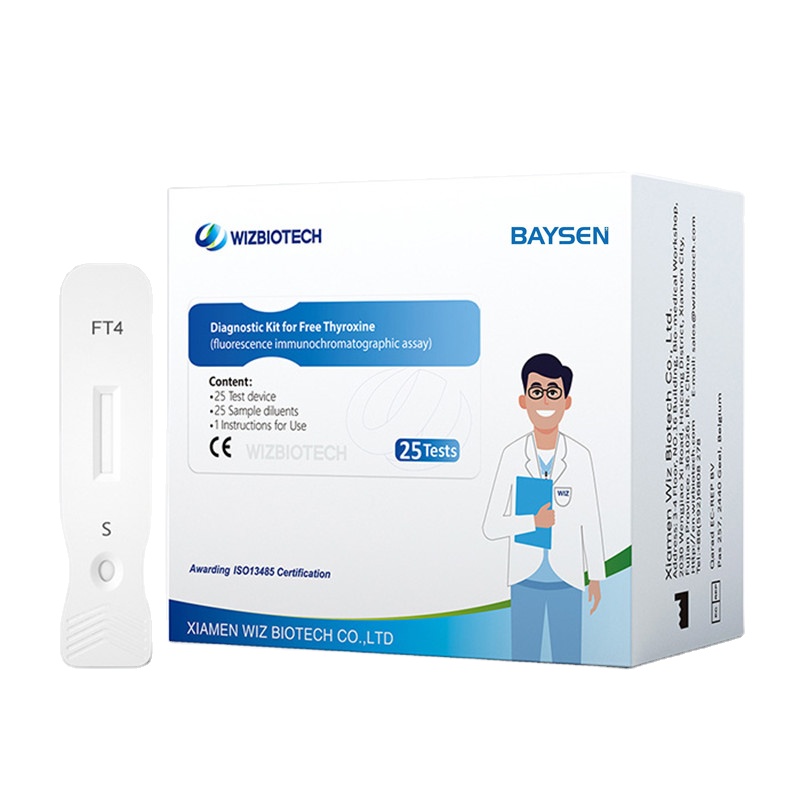
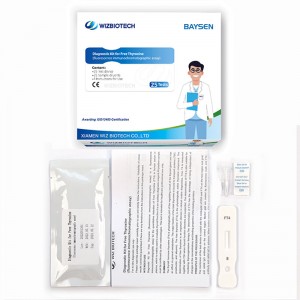
Diagnostic Kit for Free Thyroxine
Production information
| Model Number | FT4 | Packing | 25 Tests/ kit, 30kits/CTN |
| Name | Diagnostic Kit for Free Thyroxine | Instrument classification | Class II |
| Features | High sensitivity, Easy opeation | Certificate | CE/ ISO13485 |
| Accuracy | > 99% | Shelf life | Two Years |
| Methodology | Fluorescence Immunochromatographic Assay |
OEM/ODM service | Avaliable |
Summary
As a part of thyroid gland regulation loop from physiological perspective, thyroxine (T4) has impacts on general metabolism. Thyroxine (T4) is released into blood circulation freely, most of it (99%) bond with protein in plasma, which’s called bound state. There’s also trace amount of T4 unbound with protein in plasma, which’s called free state (FT4). Free thyroxine (FT4) refers to free state thyroxine in serum. Free thyroxine (FT4) can also reflect thyroid function in a relatively accurate manner in case of changes in binding force and concentration of thyroxine-binding protein in plasma, hence assay of free thyroxine is also an important factor in routine clinical diagnosis. In case of suspected thyroid disorders, FT4 shall be assayed with TSH. FT4 assay is also applicable to monitoring of thyroxine suppressive therapy. FT4 assay has the strength of being independent from changes in concentration and binding properties of binding protein.
Feature:
• High sensitive
• result reading in 15 minutes
• Easy operation
• Factory direct price
• need machine for result reading
Intended Use
This kit is applicable to in vitro quantitative detection of free thyroxine (FT4) in human serum/plasma/whole blood sample, which’s mainly used for assessment of thyroid function. This kit only provides free thyroxine (FT4) test results, and results obtained shall be used in combination with other clinical information for analysis. It must only be used by healthcare professionals.
Test procedure
| 1 | I-1: Use of portable immune analyzer |
| 2 | Open the aluminum foil bag package of reagent and take out the test device. |
| 3 | Horizontally insert the test device into the slot of immune analyzer. |
| 4 | On home page of operation interface of immune analyzer, click “Standard” to enter test interface. |
| 5 | Click “QC Scan” to scan the QR code on inner side of the kit; input kit related parameters into instrument andselect sample type.Note: Each batch number of the kit shall be scanned for one time. If the batch number has been scanned, then skip this step. |
| 6 | Check the consistency of “Product Name”, “Batch Number” etc. on test interface with information on the kit label. |
| 7 | Start to add sample in case of consistent information:Step 1: slowly pipette 80μL serum/plasma/whole blood sample at once, and pay attention not to pipette bubbles; Step 2: pipette sample to sample diluent, and thoroughly mix sample with sample diluent; Step 3: pipette 80µL thoroughly mixed solution into well of test device, and pay attention no to pipette bubbles during sampling |
| 8 | After complete sample addition, click “Timing” and remaining test time will be automatically displayed on theinterface. |
| 9 | Immune analyzer will automatically complete test and analysis when test time is reached. |
| 10 | After test by immune analyzer is completed, test result will be displayed on test interface or can be viewed through“History” on home page of operation interface. |
Factory
Exhibition
