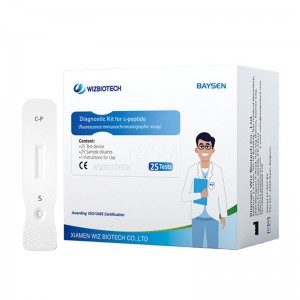
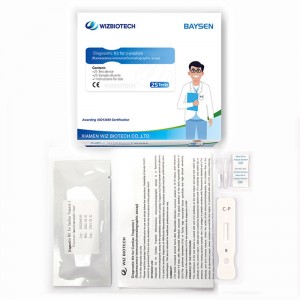
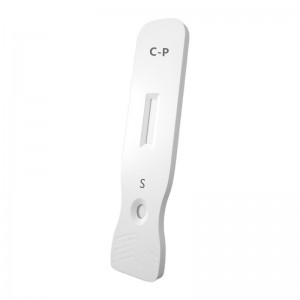
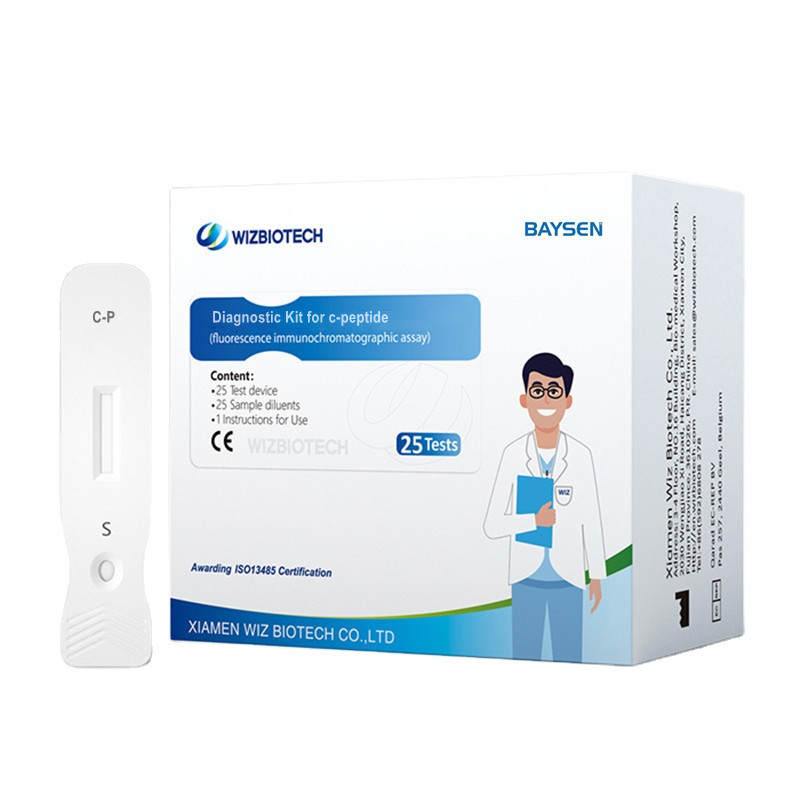
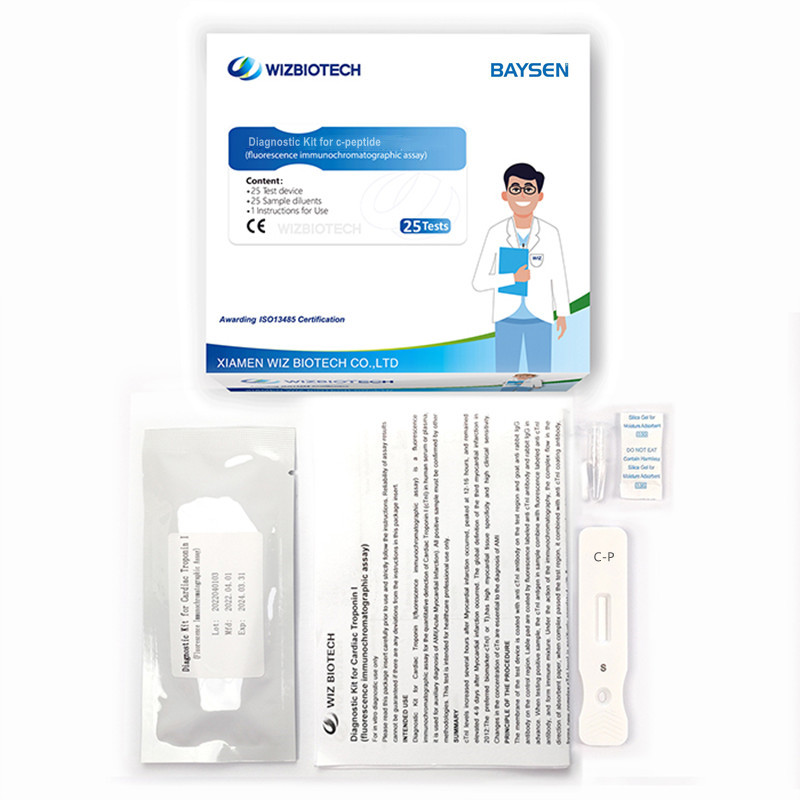
Diagnostic Kit for c-peptide
Production information
| Model Number | C-P | Packing | 25 Tests/ kit, 30kits/CTN |
| Name | Diagnostic kit for C-peptide | Instrument classification | Class II |
| Features | High sensitivity, Easy opeation | Certificate | CE/ ISO13485 |
| Accuracy | > 99% | Shelf life | Two Years |
| Methodology | Fluorescence Immunochromatographic Assay |
OEM/ODM service | Avaliable |
Intend Use
This kit is intended for in vitro quantitative detection on the content of C-peptide in human serum/plasma/whole blood sample and is intended for auxiliary classify diabetes and pancreatic β-cells function detection. This kit only provides C-peptide test result, and the obtained result shall be analyzed in combination with other clinical information
Summary
C-Peptide (C-Peptide) is a connecting peptide composed of 31 amino acids with a molecular weight of about 3021 Daltons. The pancreatic β-cells of the pancreas synthesize proinsulin, which is a very long protein chain. Proinsulin is broken down into three segments under the action of enzymes, and the front and back segments are reconnected to become insulin, which is composed of an A and a B chain, while the middle segment is independent and is known as the C-peptide. Insulin and C-peptide are secreted in equimolar concentrations, and after entering the blood, most of insulin is inactivated by the liver, while C-peptide is rarely taken up by the liver, plus C-peptide degradation is slower than insulin, so the concentration of C-peptide in the blood is higher than that of insulin, usually more than 5 times, so C-peptide more accurately reflects the function of pancreatic islet β-cells. The measurement of the level of C-peptide can be used for the classification of diabetes mellitus and to understand the function of pancreatic β-cells of diabetes mellitus patients. C-peptide level measurement can be used to classify diabetes and understand the function of pancreatic β-cells in patients with diabetes. Currently, C-peptide measurement methods widely used in medical clinics include radioimmunoassay, enzyme immunoassay, electrochemiluminescence, chemiluminescence.
Feature:
• High sensitive
• result reading in 15 minutes
• Easy operation
• Factory direct price
• need machine for result reading
Test procedure
| 1 | I-1: Use of portable immune analyzer |
| 2 | Open the aluminum foil bag package of reagent and take out the test device. |
| 3 | Horizontally insert the test device into the slot of immune analyzer. |
| 4 | On home page of operation interface of immune analyzer, click “Standard” to enter test interface. |
| 5 | Click “QC Scan” to scan the QR code on inner side of the kit; input kit related parameters into instrument andselect sample type.Note: Each batch number of the kit shall be scanned for one time. If the batch number has been scanned, then skip this step. |
| 6 | Check the consistency of “Product Name”, “Batch Number” etc. on test interface with information on the kit label. |
| 7 | Start to add sample in case of consistent information:Step 1: slowly pipette 80μL serum/plasma/whole blood sample at once, and pay attention not to pipette bubbles; Step 2: pipette sample to sample diluent, and thoroughly mix sample with sample diluent; Step 3: pipette 80µL thoroughly mixed solution into well of test device, and pay attention no to pipette bubbles during sampling |
| 8 | After complete sample addition, click “Timing” and remaining test time will be automatically displayed on theinterface. |
| 9 | Immune analyzer will automatically complete test and analysis when test time is reached. |
| 10 | After test by immune analyzer is completed, test result will be displayed on test interface or can be viewed through“History” on home page of operation interface. |


